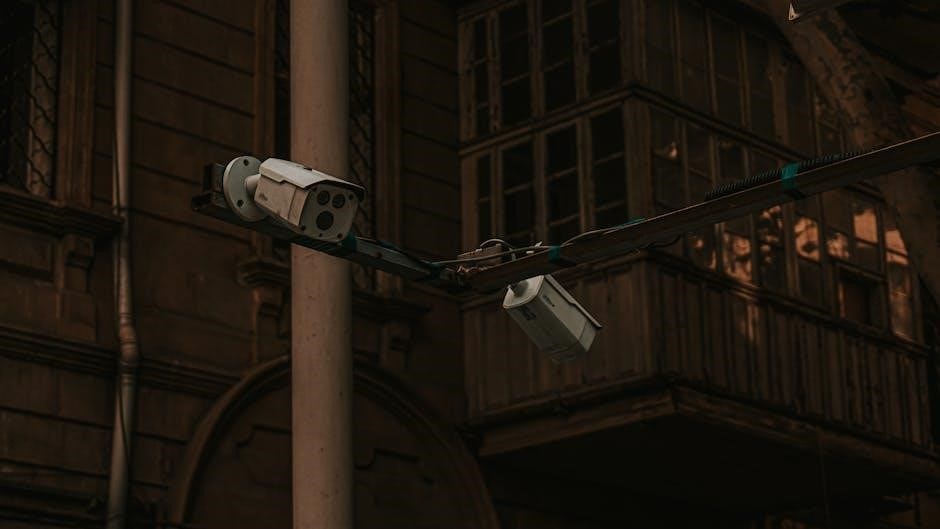
Light bulb security cameras provide surveillance and illumination‚ making them a convenient option for home security‚ using a mobile app for remote monitoring and control purposes always.
Overview of the Installation Process
The installation process of a light bulb security camera is relatively straightforward‚ involving a few key steps to get the device up and running.
The process typically begins with preparing the location where the camera will be installed‚ followed by the actual installation of the device.
This may involve screwing the camera into a light socket‚ similar to a traditional light bulb‚ and then configuring the device to connect to a Wi-Fi network.
The camera’s app is usually downloaded and installed on a mobile device‚ allowing users to access and control the camera remotely.
Overall‚ the installation process is designed to be easy and convenient‚ allowing users to quickly and easily set up their light bulb security camera and begin using it to monitor their home or office.
The entire process can usually be completed in a matter of minutes‚ making it a great option for those who want a simple and effective security solution.

Pre-Installation Steps
Prepare the area and ensure the light socket is accessible and clear of obstacles always for safety purposes and successful installation process completion.
Turning Off the Power
To ensure a safe installation process‚ it is crucial to turn off the power to the light socket where the camera will be installed. This can be done by switching off the fuse or the circuit breaker that controls the light socket. It is also important to verify that the power is indeed off before starting the installation. The internet provides various resources and guidelines on how to safely turn off the power to a light socket. By following these guidelines‚ individuals can minimize the risk of electrical shock or injury. Additionally‚ turning off the power will prevent any accidental activation of the camera during the installation process. This step is essential for a successful and safe installation of the light bulb security camera. The power should remain off until the installation is complete and the camera is ready to be turned on.
Installation of the Light Bulb Camera
Insert the bulb into the classic E27 and tighten until the bulb is firmly attached always securely.
Screwing the Camera into the Light Socket
To screw the camera into the light socket‚ first ensure the mounting surface is clean and dry. The camera should be screwed in firmly‚ but avoid over-tightening. The socket type‚ such as E27‚ should match the camera’s base. This step requires attention to detail and gentle handling to prevent damage to the camera or socket. Proper installation is crucial for the camera’s functionality and safety. The camera’s installation instructions should be followed carefully to ensure a secure and stable connection. By screwing the camera into the light socket correctly‚ users can enjoy a reliable and efficient home security system. The camera’s position and angle can be adjusted after installation to achieve the desired view and coverage. A secure connection is essential for the camera’s performance and longevity‚ making this step a critical part of the installation process.
Setting Up the Camera
Camera setup involves connecting to a network and configuring settings using a mobile app for remote access and control purposes always online.
Downloading and Installing the Camera App
To begin‚ users must download and install the camera app on their mobile device‚ which can be found in the app store.
The app is available for both iOS and Android devices‚ making it accessible to a wide range of users.
Once the app is downloaded‚ users can create an account or log in if they already have one.
The app will then guide users through the process of connecting the camera to their network and configuring the settings;
This process typically involves scanning a QR code or entering a password to connect the camera to the network.
The app will also provide users with access to features such as live streaming‚ motion detection‚ and alerts.
Overall‚ the process of downloading and installing the camera app is relatively straightforward and can be completed in a few minutes.
The app is user-friendly and provides a convenient way to monitor and control the camera remotely.
Configuring the Camera
Camera configuration involves setting up WiFi connection and adjusting settings for optimal performance and security purposes always using online instructions.
WiFi Connection and Camera Configuration
To connect the camera to WiFi‚ open the app and select the camera’s WiFi network‚ then enter the password to establish a secure connection.
The camera’s configuration settings can be adjusted through the app‚ allowing users to customize motion detection‚ video quality‚ and notification preferences.
The app also provides access to the camera’s live feed‚ allowing users to monitor their home or office remotely.
Additionally‚ the app may offer features such as cloud storage‚ two-way audio‚ and night vision‚ enhancing the camera’s overall functionality and security capabilities.
By following the in-app instructions‚ users can easily configure their camera and start enjoying the benefits of remote monitoring and surveillance.
The WiFi connection and camera configuration process is typically straightforward and requires minimal technical expertise‚ making it accessible to a wide range of users.
Overall‚ the camera’s WiFi connection and configuration settings play a crucial role in its overall performance and effectiveness.
Additional Features and Considerations
Dimmable smart lights and voice control through Amazon Alexa are available‚ enhancing user experience and convenience always with mobile apps.
Dimmable Smart Lights and Voice Control
Dimmable smart lights are a notable feature of light bulb security cameras‚ allowing users to adjust the brightness to their liking. This can be done using voice control through Amazon Alexa‚ making it easy to control the lighting in a room. The ability to dim the lights also helps to conserve energy and prolong the lifespan of the bulb. With smart lights‚ users can also schedule the lighting to turn on and off at specific times‚ adding an extra layer of convenience and security. Additionally‚ some smart bulbs are compatible with other smart devices‚ allowing for seamless integration and control. Overall‚ dimmable smart lights and voice control enhance the user experience and provide a more comprehensive smart home solution‚ making it a valuable feature to consider when choosing a light bulb security camera. This feature is highly convenient and easy to use always.